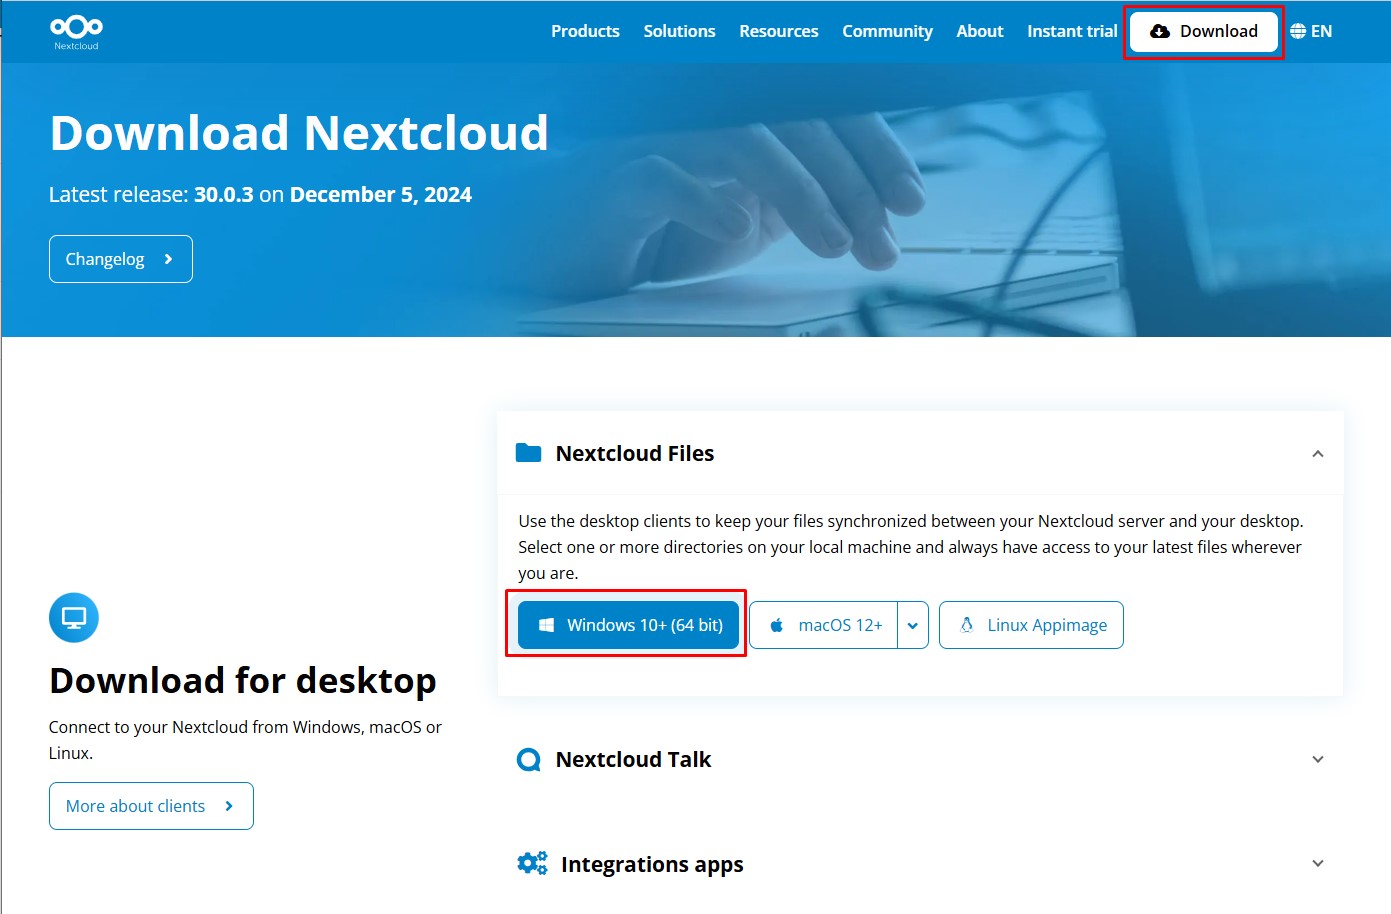
Step 1: Download the Nextcloud Desktop Client
- Visit the official Nextcloud download page.
- Download the appropriate client for your operating system (Windows, macOS, or Linux).
- Install the application by following the installer’s instructions.
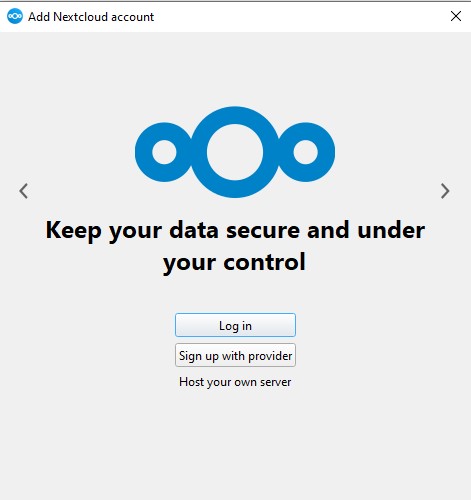
Step 2: Launch the Nextcloud Desktop Client
Open the installed application.
- Click on "Log in" or "Connect to your Nextcloud".
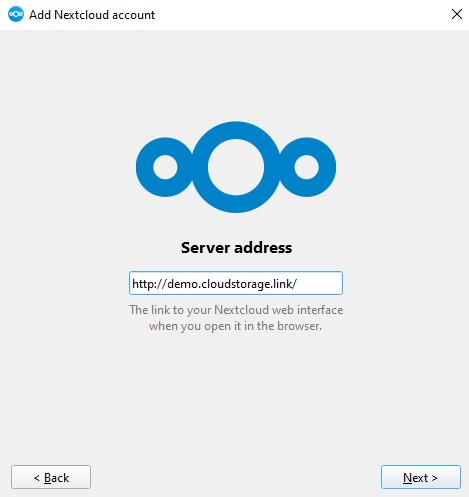
Step 3: Connect to Your Nextcloud Server
-
Enter the Nextcloud Server URL
- Example: http://demo.cloudstorage.link/
- Click Next to proceed.
-
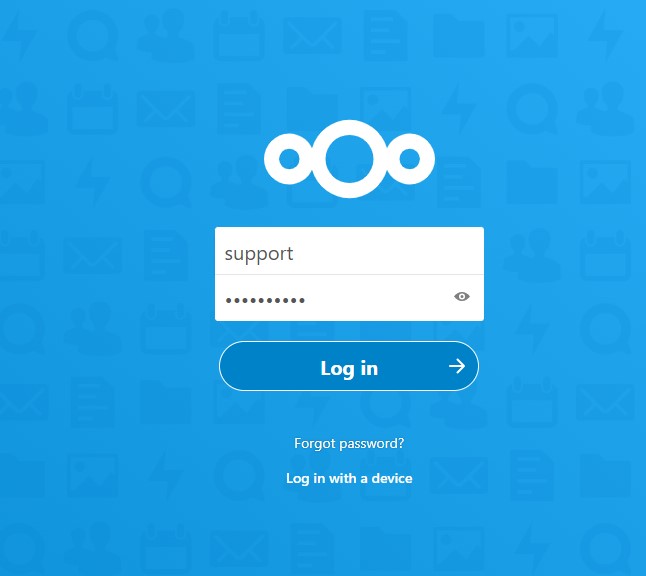
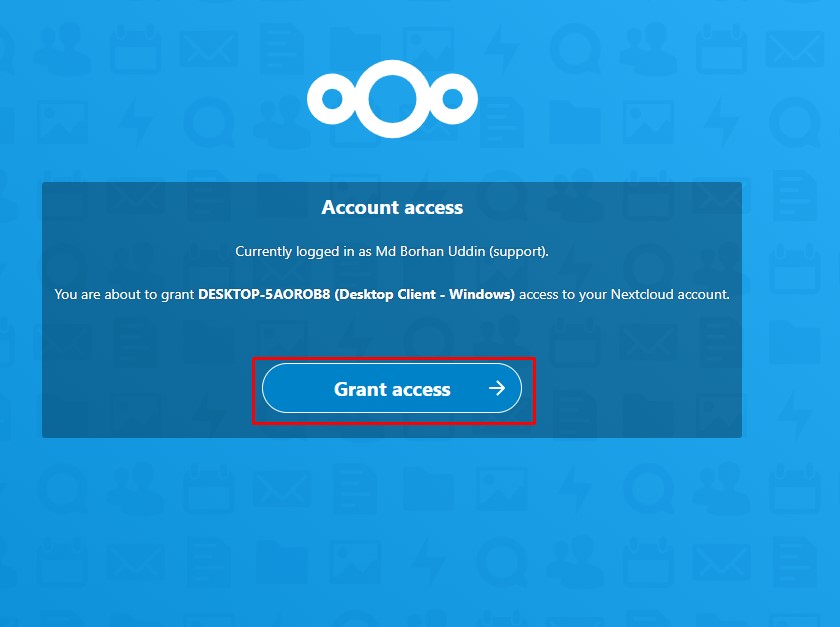
Authenticate Your Account
- Input your username and password.
- Some servers may require two-factor authentication or app-specific passwords.
-
Grant permission to the client if prompted by the server.
Step 4: Choose Folders to Sync
- The Nextcloud client will display a list of available folders on the server.
- Choose:
- Sync Everything: Sync all files from your Nextcloud server.
- Select Specific Folders: Pick only the folders you want to sync to your desktop.
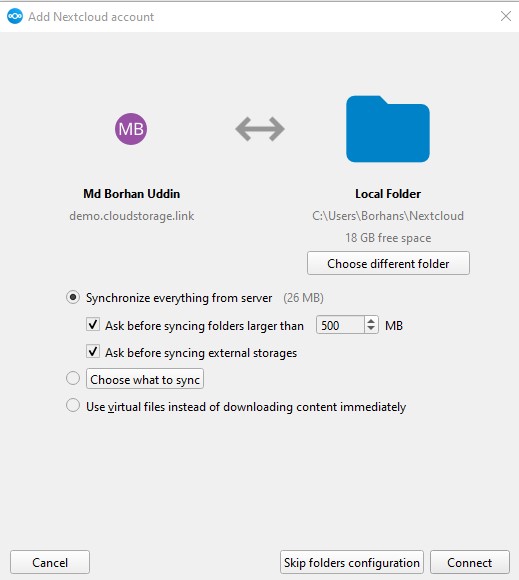
Step 5: Start Syncing
- Click Connect to finalize the setup.
- The client will begin syncing files immediately. A Nextcloud folder will be created on your computer (e.g.,
C:\Users\YourName\Nextcloudon Windows). - Access your synced files from this folder.
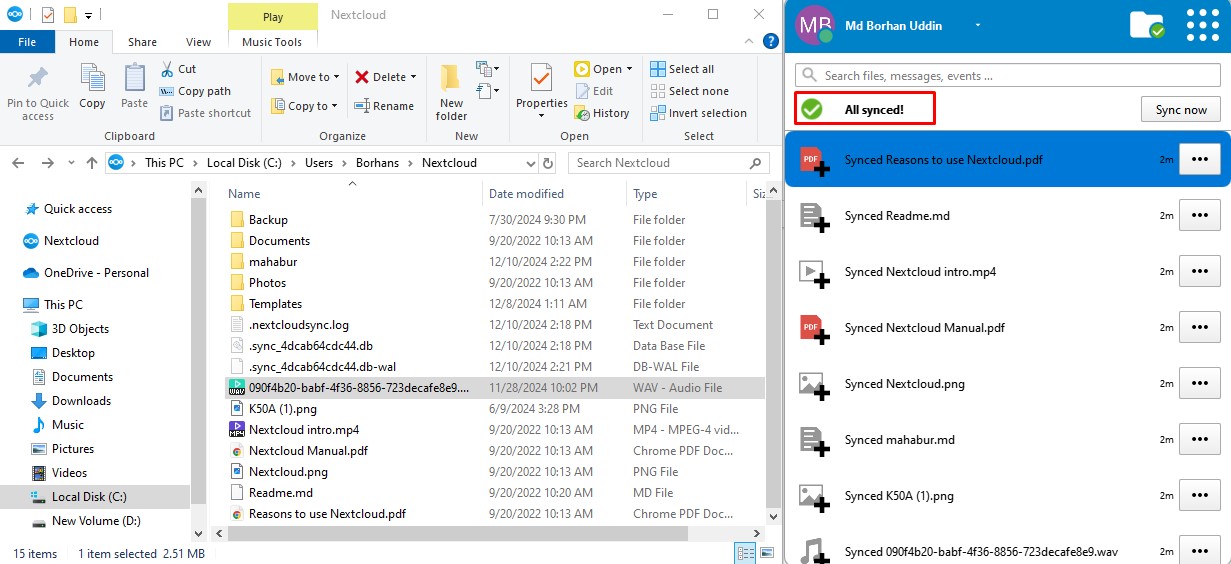
Congratulations!! Now you know How to Sync Nextcloud with Your Desktop PC.
For purchase Cloud Storage service you can visit this page link: https://www.alpha.net.bd/Cloud/Storage/
